If you follow my wife Robyn on twitter or instagram, you’re probably already pretty familiar with her new-found obsession: homemade marshmallows. Our house is filling up with the damn things, as she makes batch after batch after batch.
I’m starting to wonder if she doesn’t actually think I’m “sweet enough already”.
Much to the delight of sugar junkies everywhere, she’s agreed to write a guest post here and share how the magic happens.
Go ahead and over-indulge, but don’t blame me when you’re lying on the kitchen floor in a sugar coma…
If you are, even, a casual visitor to this blog, you probably know that Phil is the chef in the family.
I am more than happy to hang pictures, set up wireless routers, paint walls, assemble furniture, program PVRs, and just about anything else to get me out of the kitchen.
And then I got my first taste of a homemade marshmallow. That’s when it all changed.
Since that first taste, I have spent a good majority of my 2 week Christmas holiday staring into the depths of our Kitchenaid mixer watching melted sugar turn into ooey-gooey marshmallowey goodness.
And it was glorious.
I LOVE making marshmallows! Don’t get me wrong, I love eating them too, but I actually really enjoy making them (which is an indication as to how ridiculously easy they are to make)!
I think its the transformative nature of the ingredients that keeps my coming back, batch after batch. Watching the sugar melt and start to boil, mixing it with the gelatin and seeing its metamorphasis into pillowy clouds of fluff, letting it cool and then coating it all with even more sugar.
The process, for me, is just so tactile and visually pleasing that I seem to crave that more than the actual eating of the marshmallow.
But then again, they do taste really good.
Anyway, I guess since this is a food blog, I should probably mention just how I make these bites of magic…
First combine some water, gelatin and the flavour extract of your choosing into a stand mixer and set it aside.
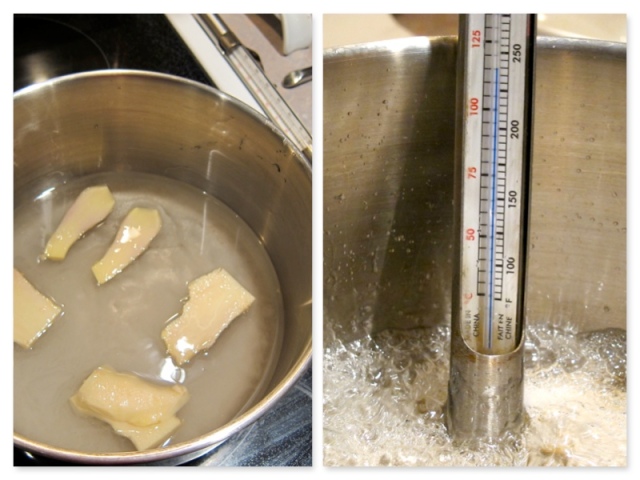
Then mix some more water, sugar (I’ve tried with both white and brown sugar and, while very different, both worked and were delicious), light corn syrup and kosher salt into a pot and set it on medium high heat to boil.
Make sure you have a candy thermometer handy, because as soon as that sucker hits 250, take it off the heat.
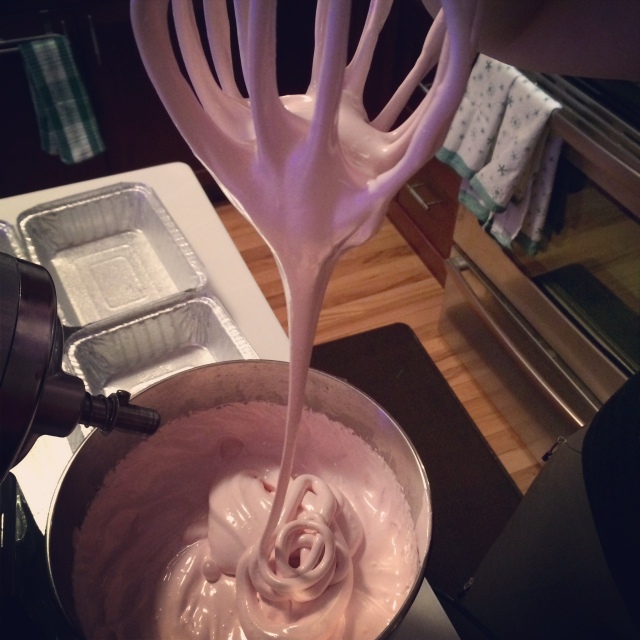
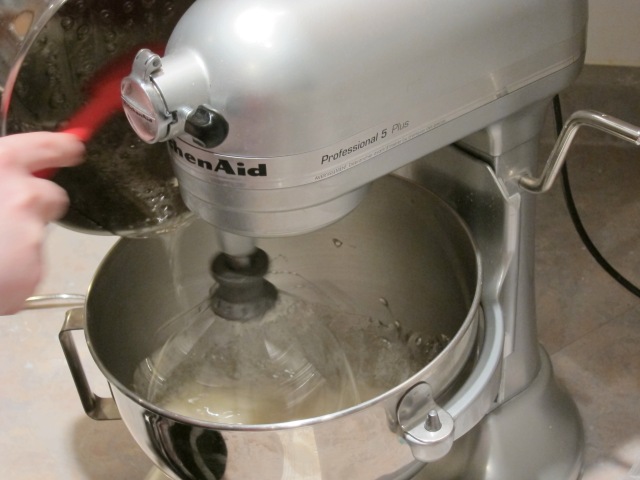
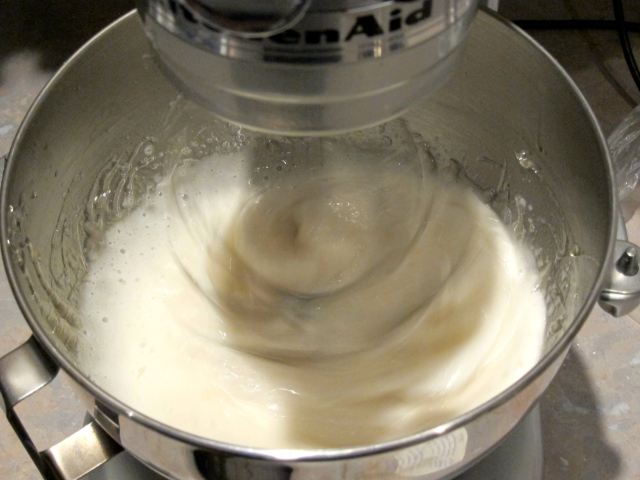
Once the sugar mix reaches temperature, drizzle it into the gelatin with your mixer on low, gradually increasing the mixing speed.
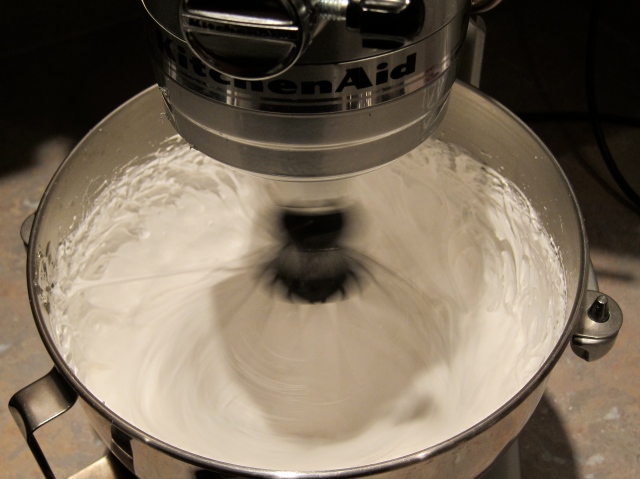
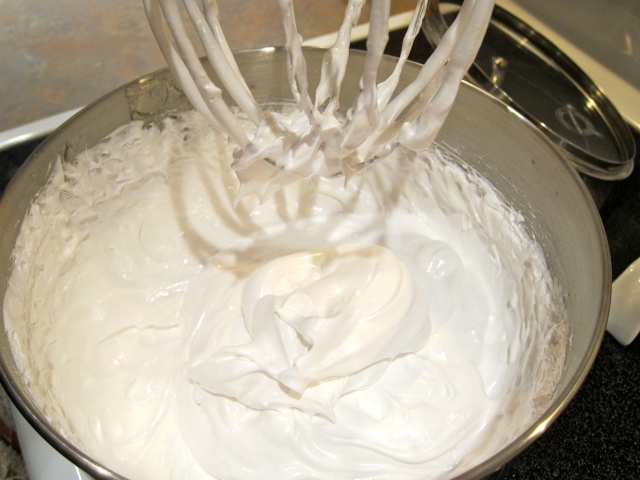
Then you’re going to whip the shit out of it until the mixture is thick and the bowl is cool to the touch.
(and when the mixing is done, make sure you set aside the whisk for a proper cleaning)
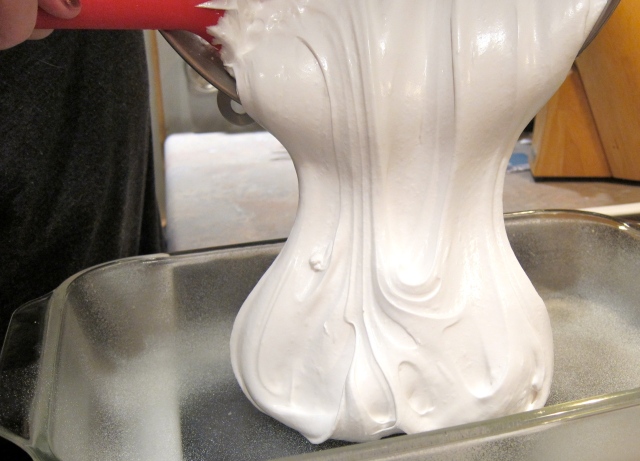
Coax all the mallow you can out of the bowl and into a greased 9×13 baking pan and let it cool for at least 3-4 hours (as much as it pains me, that is non-negotiable).
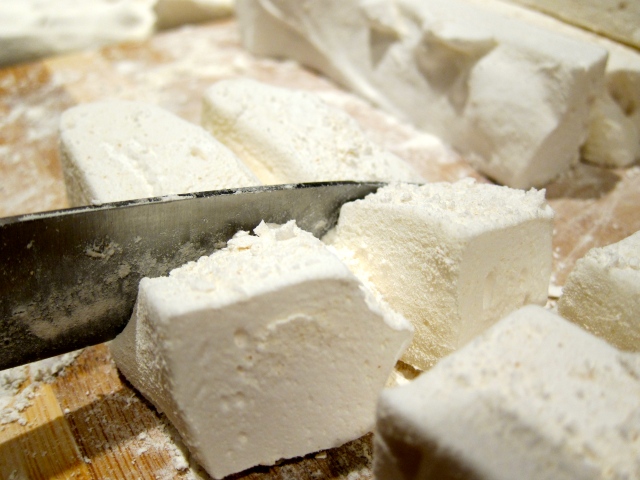
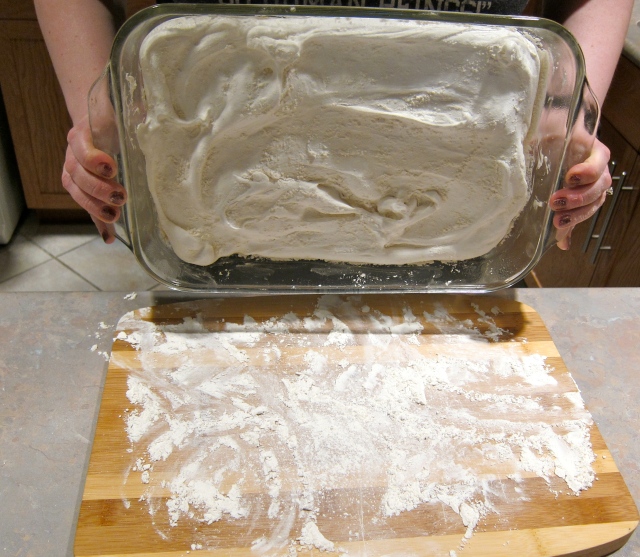
After what feels like forever, tip the pan over and slide the marshmallow brick onto a powdered board – at this point, the mallow will be solid, but its still plenty sticky, so you might need to coax it out of the pan with a knife.
Now you get to cut your mallow.
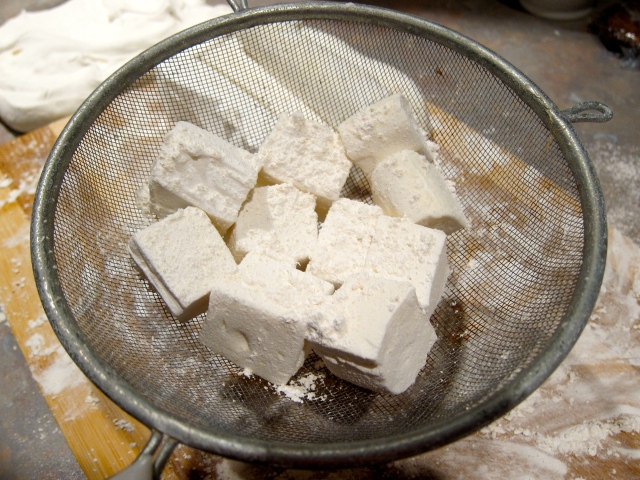
You can get creative, use a cookie cutter for pretty shapes, or go free-hand if you’re into crazy shit like that. For me? I like symmetry, so I slice the sheet into columns, and the columns into bite-size squares.
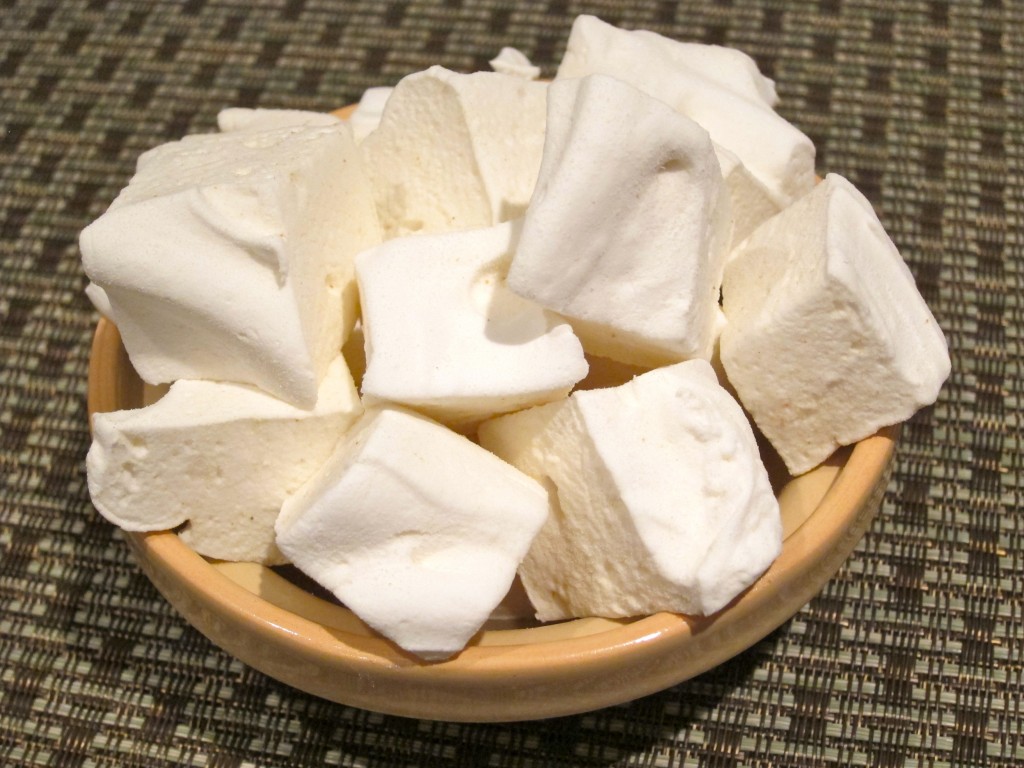
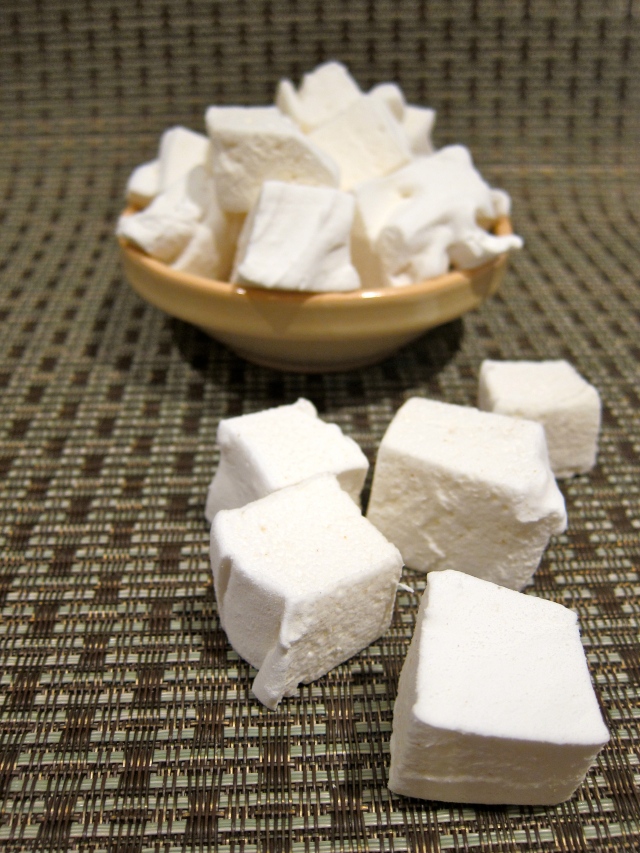
Then coat it all in an icing sugar/cornstarch mixture and store in an air tight container for up to a week…
…or, you know, a day. There’s no judgement here.
Feel free to get creative – the recipe below is for plain (read: boring) vanilla marshmallows, but I have tried out sour cherry/almond, beet, brown sugar/maple and coconut/ginger. The flavours are only limited by your imagination.
And don’t be afraid to fail. I mean, what’s the worst case scenario? You end up with a marginally tasty, goopy pan of fluff – which still seems pretty alright to me.
And feel free to leave a note in the comments – I would love to hear what flavour combinations you come up with!
Homemade Marshmallows
4 pkg gelatin
3/4 cup cold water
1 tblsp vanilla extract
1 3/4 cup granulated sugar
1 cup light corn syrup
1/2 cup water
1/4 tsp kosher salt
3/4 cup icing sugar
1/3 cup cornstarch
– In stand mixer: sprinkle gelatin over 3/4 cup cold water and extract
– In a pot: heat sugar, corn syrup, salt and 1/2 cup water. Boil on med high, covered for 2 minutes. Remove cover and boil until mixture reaches 250 degrees
– With mixer on low, slowly drizzle sugar mixture over gelatin. Gradually increase speed to high.
– Whip until thick and bowl is cool to touch
– Lightly coat a 9×13 pan with non-stick spray. Pour mixture into pan and spread evenly to all sides/corners
– Let cool 4 hours
– Turn marshmallow out, cut into squares and coat with icing sugar/cornstarch mixture. Shake off excess and store in an airtight container for up to a week.





Sounds great! I’ve been meaning to try making homemade marshmallows for a while. I might make maple ones and cut them into circles (using my biscuit cutters) so that they’re perfectly sized to sit atop a cup of hot cocoa.
Great idea! Now I just have to figure out how to make a Baileys flavored one!
OMG I need a kesson! Wanna teach me? Seriously, This is nice
Erodible – but how big is the batch? Do you really eat it in a week!.
Valerie- they are so easy! Maybe we should plan a marshmallow day where we try to create interesting ones?
Thanks for this post, I was so scared to try making them until you guys gave the perfect steps. I added two tbsp whipped coconut milk whip cream after they got really thick and they were super easy to pour and the top was flat. They still came out light and fluffy and amazing! Putting them on sweet potatoes tonight!!!!
Well, I wish I had read your blog BEFORE I tried making the homemade marshmallows last night. I used a different recipe, but it was very similar to yours. But, mine came out like marshmallow flavored rubber! I did what the instructions said to do, but it was really rubbery. I could hardly get it out of the bowl. After seeing your pictures, I will know what consistency it is suppose to be. I think I almost burned out the motor of my KitchenAid! How long do you actually mix them? The directions said 14 mins and then add the vanilla and then another minute. By then it was rubber.
But since these are for Valentines day, I am going to go with what I have. I planned on cutting them out in heart shapes, puttint them on a stick and then dipping them in melted chocolate. If they can’t be eaten off the stick, the stick can be put into hot chocolate and hopefully it will melt!!! The one and only time that I had homemade marshmallows was at a winery where they infused them with ice wine and we toasted them. They were to die for! I will try this again with your recipe and instructions and hope I have better luck! Thanks!!
I have a question for a homemade marshmallow expert 🙂 I made homemade marshmallow then let it set. Now I want to think I would like to melt it down to make some marshmallow popcorn balls. Do you know if the marshmallow will set again or will I destroy the already made marshmallow by heating it again
I don’t know about being an expert…but I can tell you that I have a friend who used her homemade marshmallows for rice krispie squares and they worked just fine.
I think once you make them, you can use the homemade just like you would with store bought.
Good luck!
-Robyn